
The functionality of modern computers has no limits. And one of its possible options, in combination with a
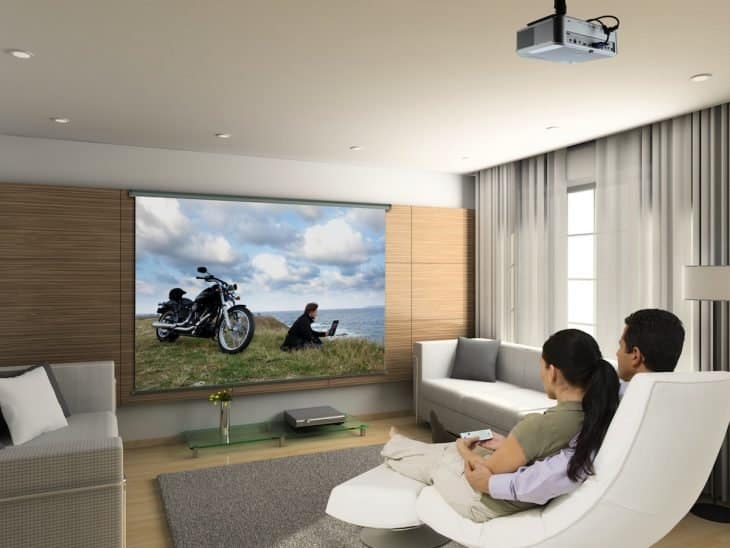
home theater, is the creation of a full-fledged multimedia center. In the review, we will talk about how to connect a home theater to a personal computer or laptop, give step-by-step instructions and analyze possible pairing problems.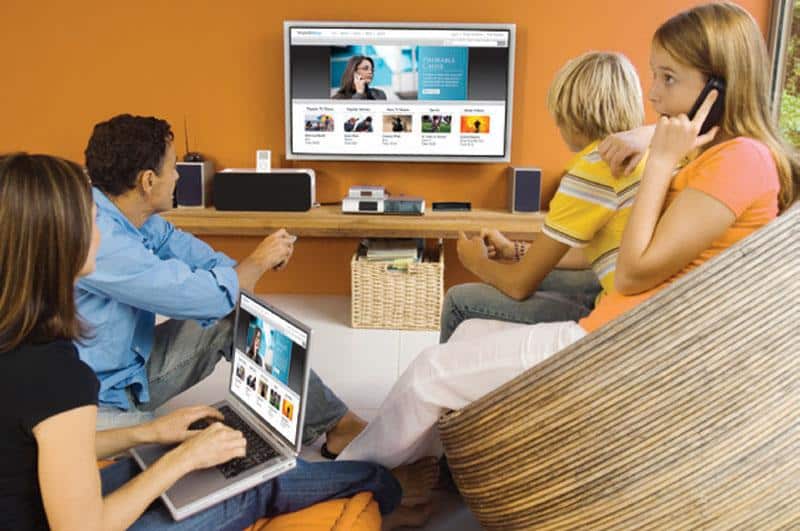 Viewing home theater through a computer [/ caption]
- Why is the home theater connected to a computer / laptop
- What is needed for a PC and home theater connection
- Step-by-step instructions for connecting a home theater to a personal computer
- Connecting with an AUX cable
- Connecting a home theater to a computer via the hdmi connector
- How to connect a home theater to a computer using an optical cable
- Wi-Fi
- Connection setup
- Possible problems and solutions
- Sound or images are not output after connecting the home theater to the computer
- We connect the equipment via Wi-Fi, but the computer does not see the home theater
- Both the computer and the TV are connected to the home theater, but the sound or image is not reproduced: what is the reason and how to solve the problem?
Why is the home theater connected to a computer / laptop
As a rule, by pairing a home theater and a computer, one of the following tasks is solved:
- significantly improve the soundtrack of a computer game;
- replace a failed TV by displaying an image on a PC monitor (without losing sound quality);
- compensate for the lack of the “SMART” option on TV, and view content from online cinemas or other servers / websites with surround sound;
- connect karaoke .
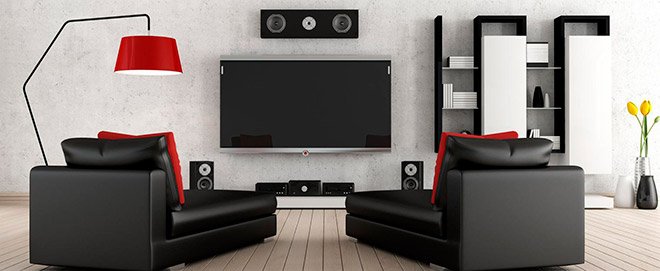 Home theater can be connected to a computer and laptop [/ caption]
What is needed for a PC and home theater connection
There are several ways to connect your home theater to your PC or laptop. We choose the appropriate option based on the technical characteristics of the devices, their configuration; and also taking into account the purpose of using the computer (for example, to display an image or as a signal source). So, somewhat outdated DK models can be used as sound amplifiers. In this case, to pair the equipment, you will need an aux cable (2 tulips, mini-jack – 3.5 mm).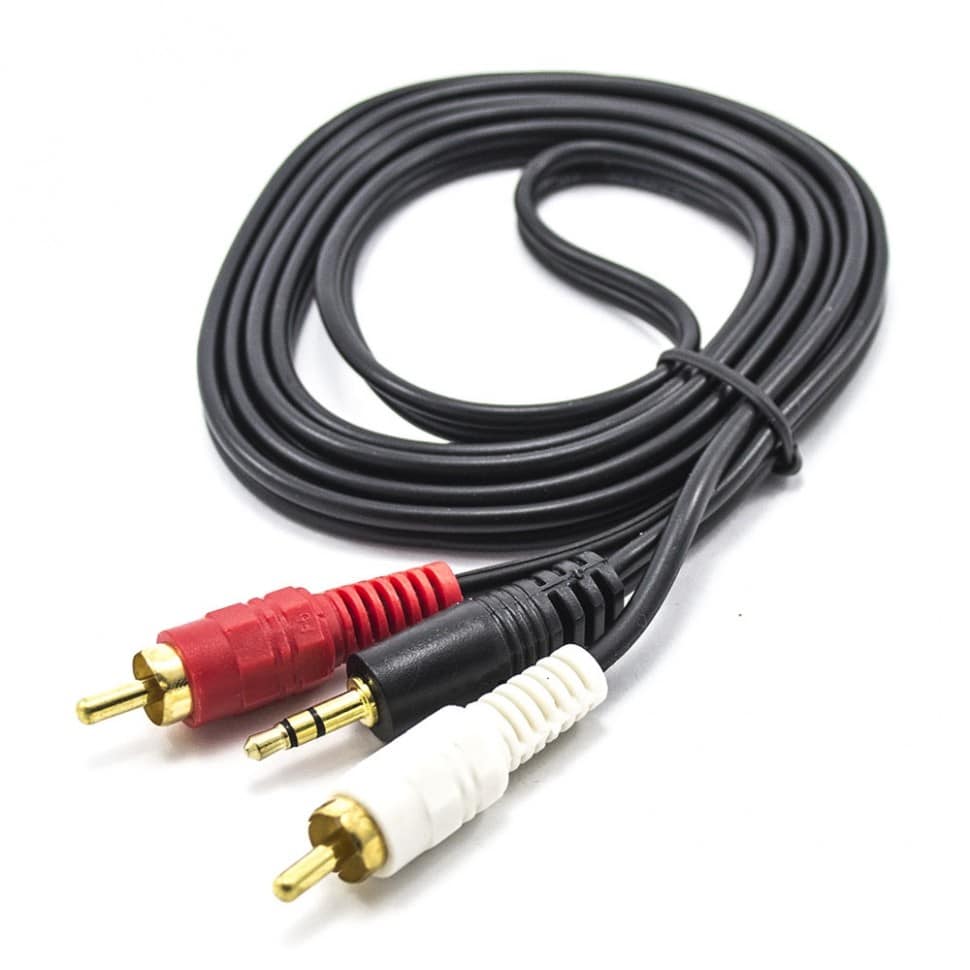 Aux jack for tulip 2rca [/ caption] The connection sequence is as follows:
- We connect tulips to the speakers (“INPUT” jack).
- We connect the mini-jack plug to the computer (sound card socket).
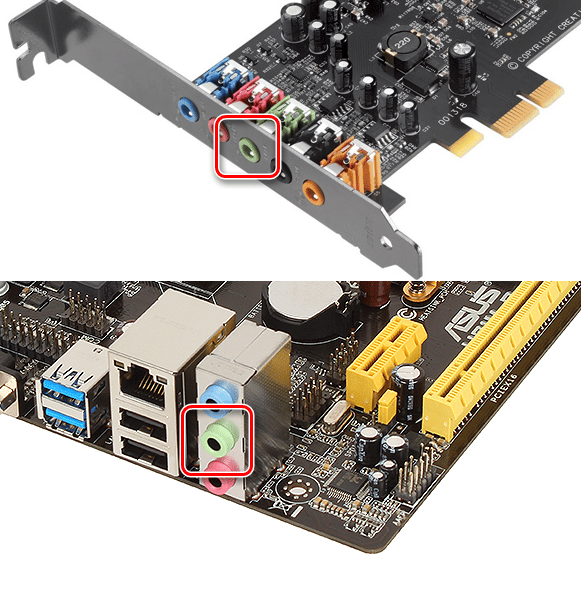
Next, the settings menu will be displayed on the PC screen, where we define the cable and complete the definition of the device configuration. If we are talking about a more modern system, for example, 5.1, consisting of a subwoofer, front, center and rear speakers, then for direct connection you will also need a sound card and 4 mini-jack adapters (since the connectors of the DC speakers do not coincide with the standard audio connectors cards of a PC or laptop). The outputs of the computer and speakers are connected with white and red cables.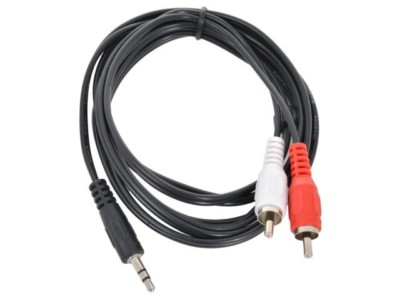 The sequence for connecting to the sound card is as follows:
- We connect the wires from the front speakers to the green input of the sound card.
- We insert the rear speaker cables into the black jacks.
- Tulips from the subwoofer and center speaker go into the orange sockets.
How to connect home theater speakers to a laptop: https://youtu.be/H2xJhFQnuyE
Important! For correct connection of wires, use the instruction manual of the equipment.
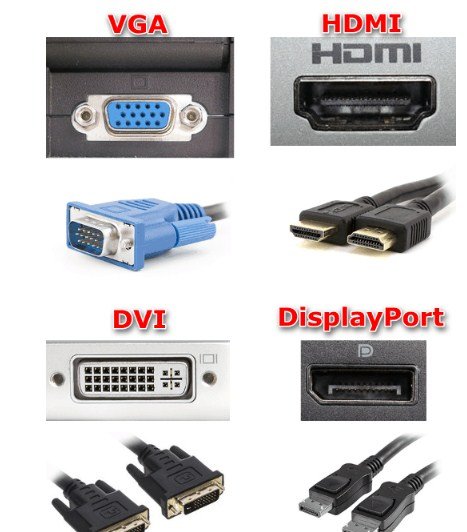
Note! The stereo input is not used to connect the system to the amplifier. There is also the option of connecting a 5.1 system via DVD. Let’s consider it below. In turn, synchronizing the image on the computer and TV screens will require pairing the devices. For this purpose, we will use a cable, the choice of which is determined by the connectors on the TV and PC or laptop: HDMI, DisplayPort, COMPONENT VIDEO, SCART, S-VIDEO, DVI, BBK, VGA. If the connectors of the devices do not match, you can use an adapter.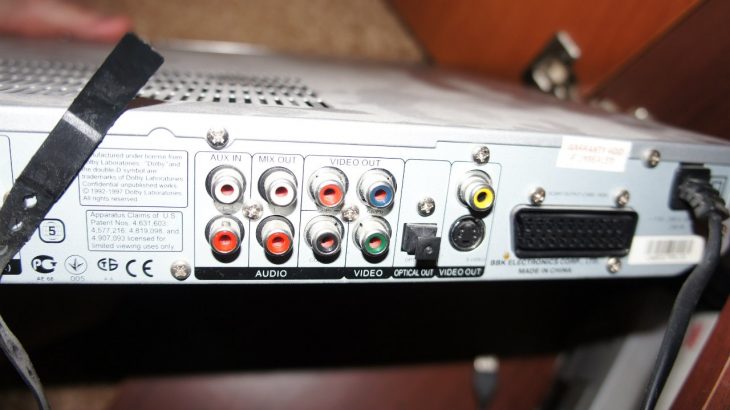 VGA connector [/ caption]
Step-by-step instructions for connecting a home theater to a personal computer
Connecting your home theater to your computer is not difficult. Let’s analyze the main connection options in step-by-step instructions.
Connecting with an AUX cable
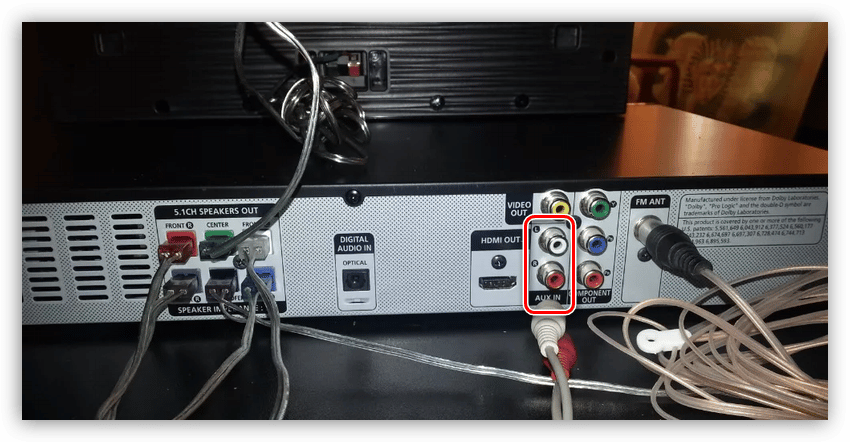
This type of connection is quite common, since almost all modern stereo devices, including home theaters and computers, are equipped with aux-jacks. Connection can be made either directly (see instructions above) or using a so-called intermediary.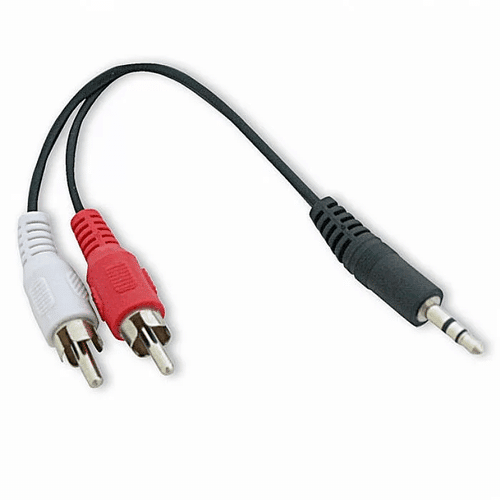 Aux cable [/ caption] DVD-player will act as the last one. The cable is standard for this type of connection – on one side it is equipped with tulips, on the other – a mini-jack. The connection sequence is as follows:
- The mini-jack connector is inserted into the input of the PC audio card for speakers, which is standardly colored green or has the corresponding inscription “out”.
- The reverse side of the aux wires is red and white tulips, we connect to the DVD player, focusing on the color scheme (white tulip – white connector, red tulip – red connector).
- Go to the configurations, and open the settings tab of the PC / laptop sound card. The section is called “Sound inputs / outputs”. We choose the option with the appropriate number of columns. For a 5.1 system, this value is 6.
- Next, on the DVD player, select the appropriate audio input channel.
- Checking the sound.
As you can see, this type of connection is one of the simplest, and does not require additional investments to purchase missing components. How to connect your old home theater to your computer: https://youtu.be/KKsgbSVDbVI
Connecting a home theater to a computer via the hdmi connector
Connecting via the HDMI connector, sometimes labeled ARC, is also one of the most common ways to pair devices. Provides high quality data transmission. Used like this:
- We connect one end of the cable to the home theater receiver using the HDMI in jack.
- We connect the other end to the computer – the “HDMI out” connector.
- Next, turn on all the equipment and go to the settings.
 hdmi connectors [/ caption] Depending on the brands and models of technology, the process may differ slightly. The main task is to select the HDMI jack in the corresponding settings menu and specify it as a signal source. The command may sound like “playing audio / voice for acoustic system”, which means sound reproduction through the acoustic system. We remove the flag from the command to sound through the speakers.
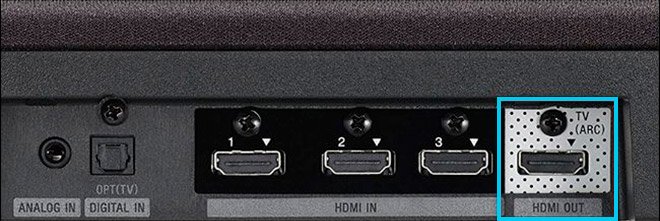 HDMI connection [/ caption] How to connect a home theater to a computer to have 5.1 sound, how to output sound and video in good quality: https: // youtu.be/PPh99i55BrI
How to connect a home theater to a computer using an optical cable
The option with optics is suitable for those who did not find the HDMI input on the computer, but found the “OPTICAL OUT” or “DIGITAL AUDIO OUT” connectors. In this case, using an optical cable, we connect this connector on the computer with the corresponding output on the home theater. Further, according to tradition, we correct the corresponding settings on the computer, and we get a surround sound.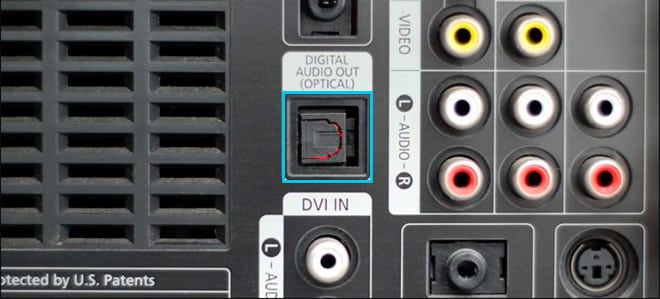
Note! The electromagnetic radiation on the fiber-optic cable is not affected, so there is no need to worry about interruptions in the sound.
How to connect a home theater to a computer via an optical cable – video instruction: https://youtu.be/ypdsGYOK5gg
Wi-Fi
If your home theater is equipped with a Wi-Fi option, you can also connect the system to a computer through it. In this case, in the settings, select the appropriate network for connection (the same for both the DC and the computer). Enter your password. In the PC settings, we indicate the appropriate type of connection. And we check the sound. This type of connection will also allow you to create your own mini-server, which will store your home multimedia content. The server can be accessed, so that your favorite audio and video files will remain available for viewing on any other device – TV, smartphone, tablet, etc. How to connect cinema speakers 5 1 via RCA cable to computer: https://youtu.be/fT64ctP5CaA
Connection setup
After pairing all the devices, for the correct connection of the home theater to the computer, we proceed to work with the software. This utility comes with an audio driver. We insert the disc into the drive. And follow the instructions / prompts on the screen. Next, it is important to tune and test the sound of the system. We also do this using a computer using standard Windows OS programs:
- Expand “Start”.
- Go to the “Control Panel” section.
- Open the tab “Hardware and Sound”, “Sound”.
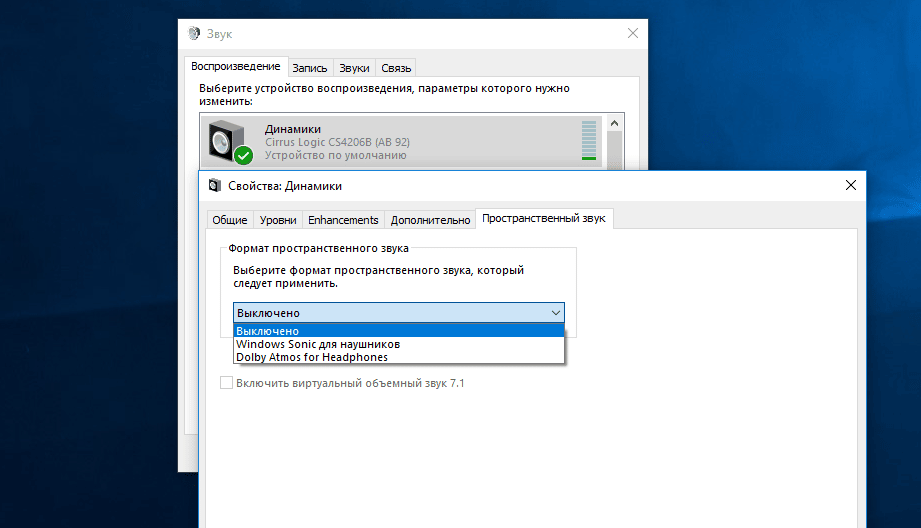
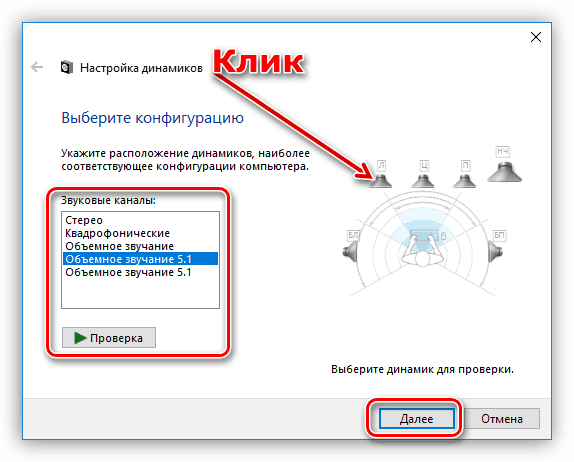 Setting up multichannel speaker systems in Windows 7 and 10 [/ caption]
 - In the dialog box, expand “Playback”, select “Speakers” (here their name will be indicated).
- Click on “Configure” and set the surround sound.
 Setting the DC [/ caption] Finish the settings. If the home theater is connected via a local network, then you should open “Shared Access”:
- We are looking for the right folder with music, movies and more.
- Click on it with the right mouse button.
- Next, “Sharing”, and select the desired mode.
In the case of a Wi-Fi connection, the setup will be somewhat more complicated – you will need to configure the home theater adapter to receive a router signal. Further, if the Wi-Fi network is protected, enter the password and check the connection.
Possible problems and solutions
Now we will consider the frequently encountered connection problems and suggest ways to solve them.
Sound or images are not output after connecting the home theater to the computer
If you encounter a similar problem, we recommend the following:
- Check the serviceability of the equipment and cables involved.
- Check if the wires are connected correctly.
- If this does not help to solve the problem, delve into the computer settings. We go into the settings of the PC / laptop sound card, and check the correctness of the configurations. As a rule, one of the suggested actions will always help to resolve the problem.
We connect the equipment via Wi-Fi, but the computer does not see the home theater
To solve the problem, we recommend that you check the correct operation of the router. Also note that you must connect to the same wireless network. Recheck the connection and, if necessary, reconnect.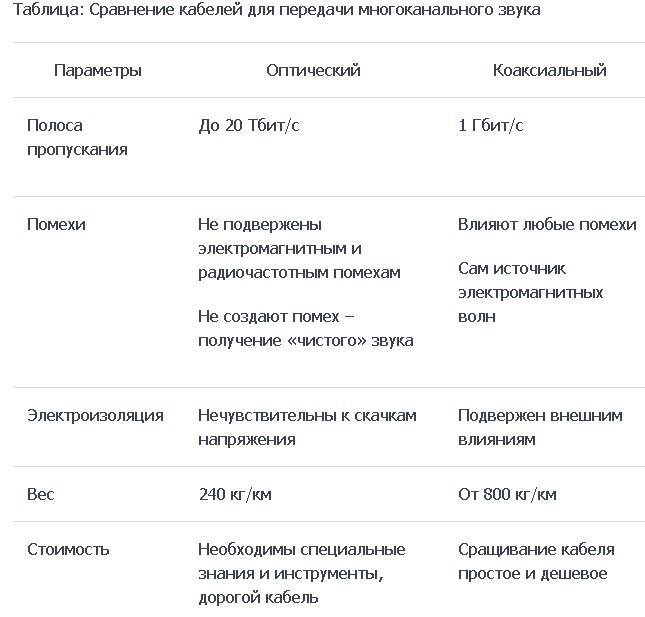 Comparison of cables [/ caption]
Both the computer and the TV are connected to the home theater, but the sound or image is not reproduced: what is the reason and how to solve the problem?
The cause of this malfunction is most often a device conflict. But do not despair, it can be resolved painlessly. To restore sound, we connect equipment (TV and home theater) using an optical cable; and for a high-quality image – a computer and a TV with an HDMI cable. As a rule, devices are equipped with a corresponding connector. Connecting according to this scheme will allow you to separate the video and audio signals. Then the devices will stop conflicting. As a result, we get high-quality image transmission from the computer to the TV, and surround sound from 5.1 acoustics.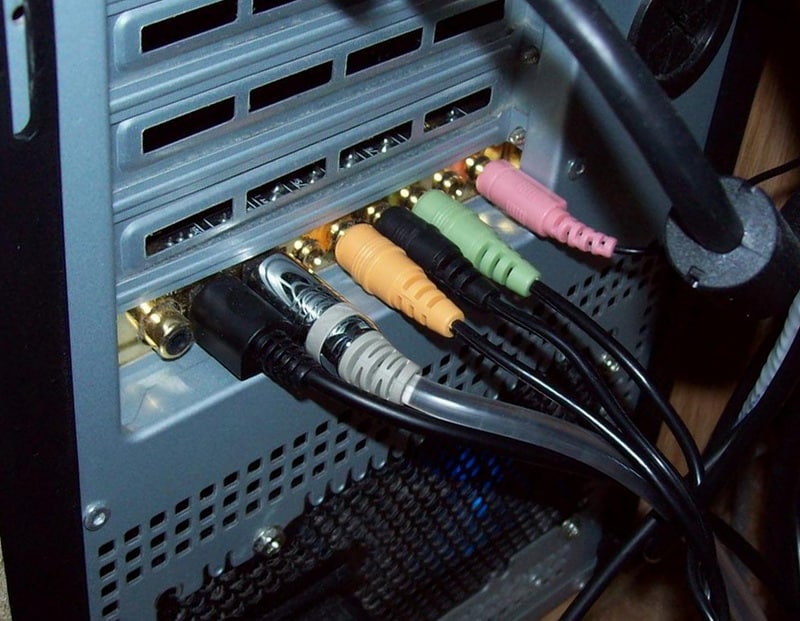 Connecting a 5.1 system to a PC [/ caption] As you can see, the process of connecting a home theater to a computer is not too complicated. The main backside is to decide on “Given”, that is, with the technical characteristics of the devices, and the presence of the appropriate connectors. The rest of the process for wired connection and settings is quite similar.


